I often get asked how I design a home remotely, which is a great question! While I can explain it fairly quickly, it is always better to show some visuals so you can see the transformation and the work that goes into an online project behind the scenes. Below you will find my process outlined in order along with progress photos from the client (it is eerie how similar the real life photos look to the rendering!)
Step 1 | Vision + Planning
I start by sending over a detailed questionnaire so you can brain dump all your thoughts, questions and ideas into one spot. From there we set up our first call via google meet and review your questionnaire together so I can get a really great sense of your personal style and goals for the space.
Step 2 | Concept + Inspiration
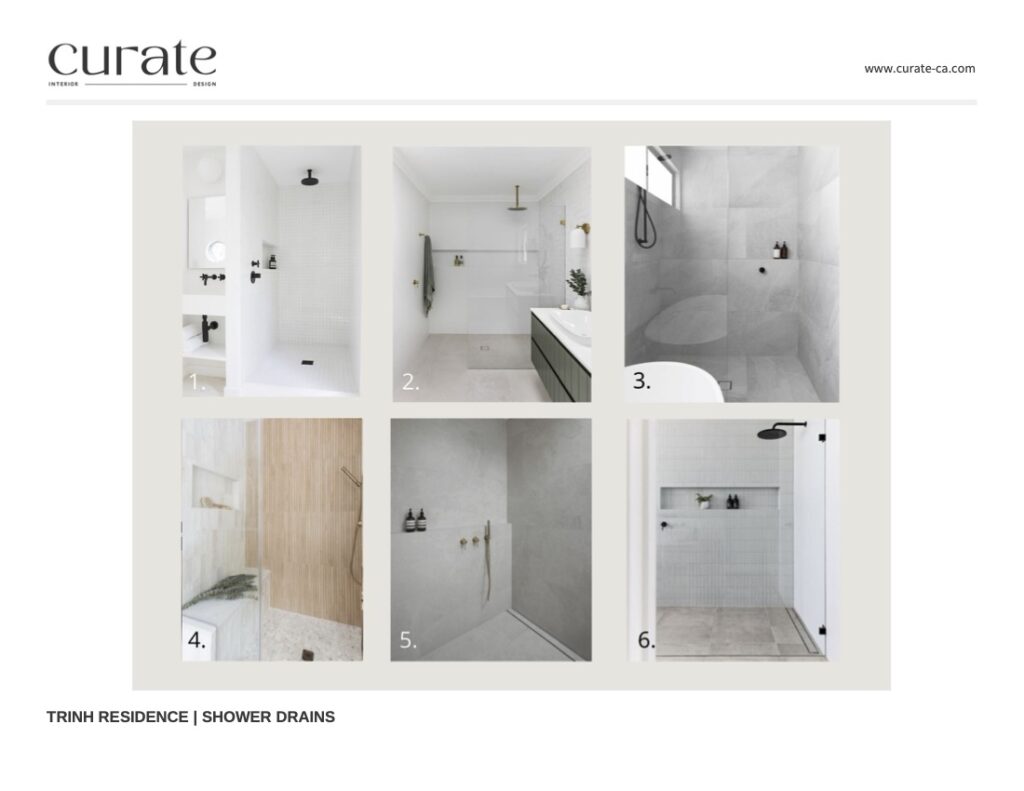
The next step is where I present images and ideas that I think will work for the space and use this as a tool to get feedback from the client to find out what they like and dislike prior to moving forward in the design. This will also give you a sense of where the design might be heading.
Step 3 | Design Elements Board
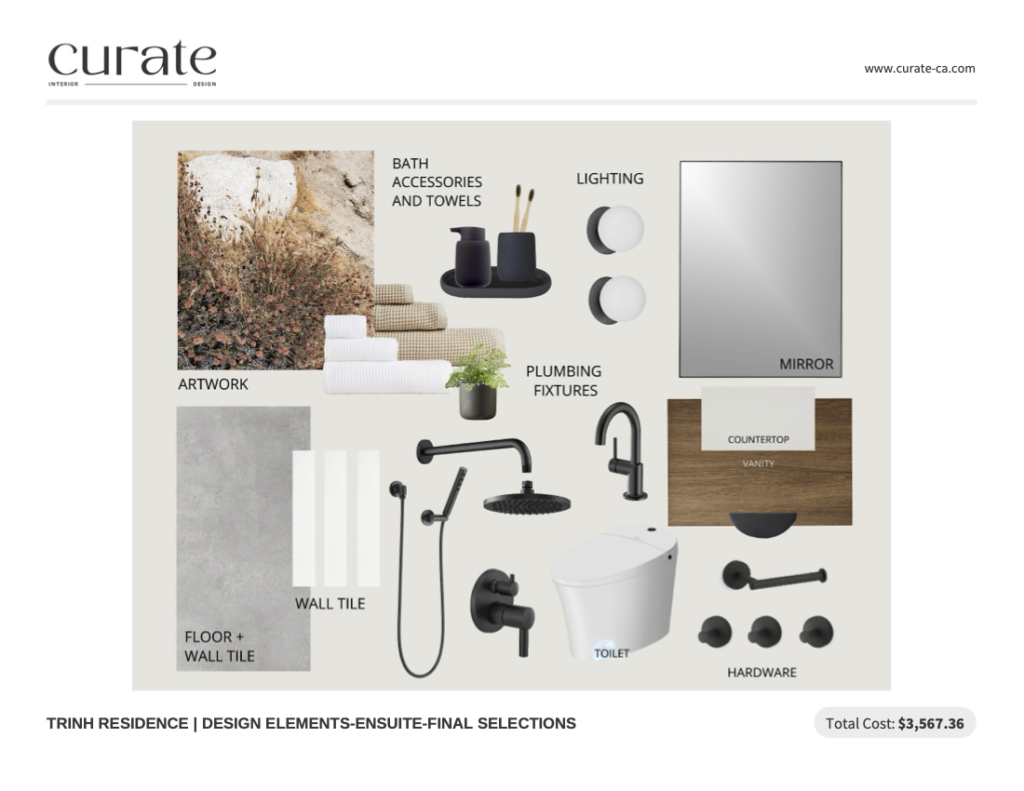
This is the phase where the real design starts to take shape and there are usually a few revisions to get it just right. Above you see the physical items that are recommended to be purchased to create the design. Below I have listed all the links to the same products or similar ones below if you want to know where they are from!
Linked Items from Design Elements Board
Wall Sconces – White + Matte Black
Archival Photographic Print – 36″ x 36″
Vanity Millwork (sourced locally by client, but have included a similar recommendation from Swede Kitchens (Coastal Lodge))
Floor + Partial Wall Tile (please consult a trade professional prior to purchasing tile for a renovation)
Wall Tile (please consult a trade professional prior to purchasing tile for a renovation)
Jason Wu Shower Fixtures (I used the Jason Wu fixtures for the shower, but please consult your plumber for the exact configuration you would need based on your specific shower and plumbing set up)
Step 4 | Floor Plan + Detailed Drawings
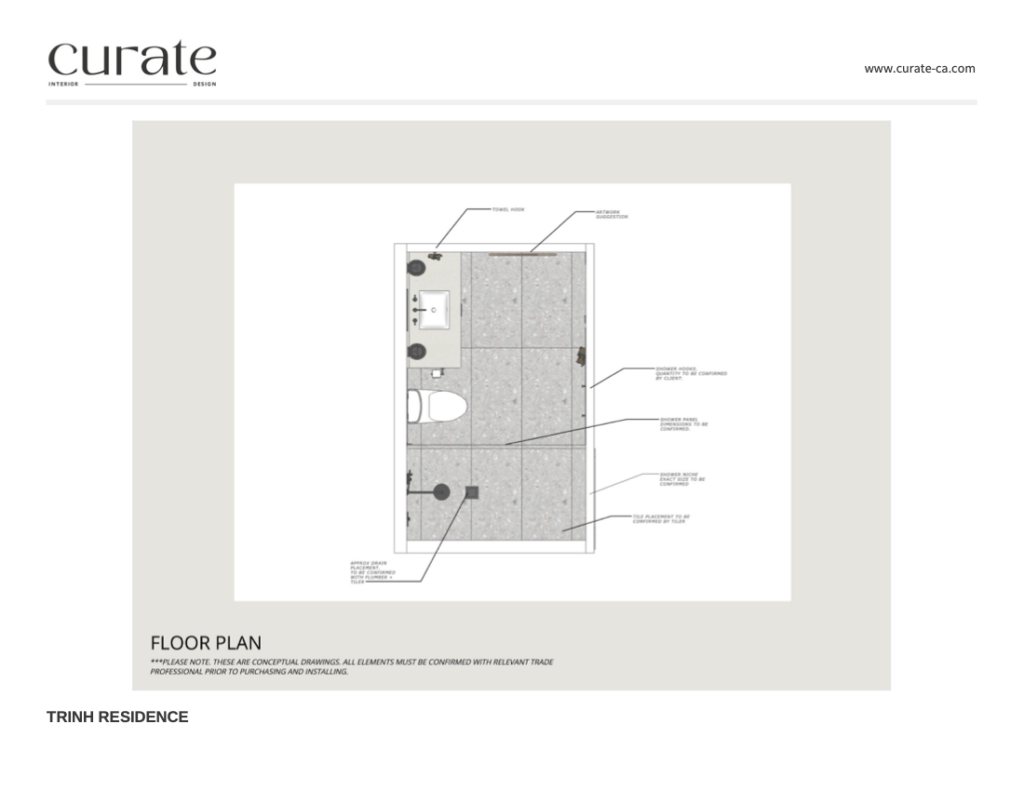
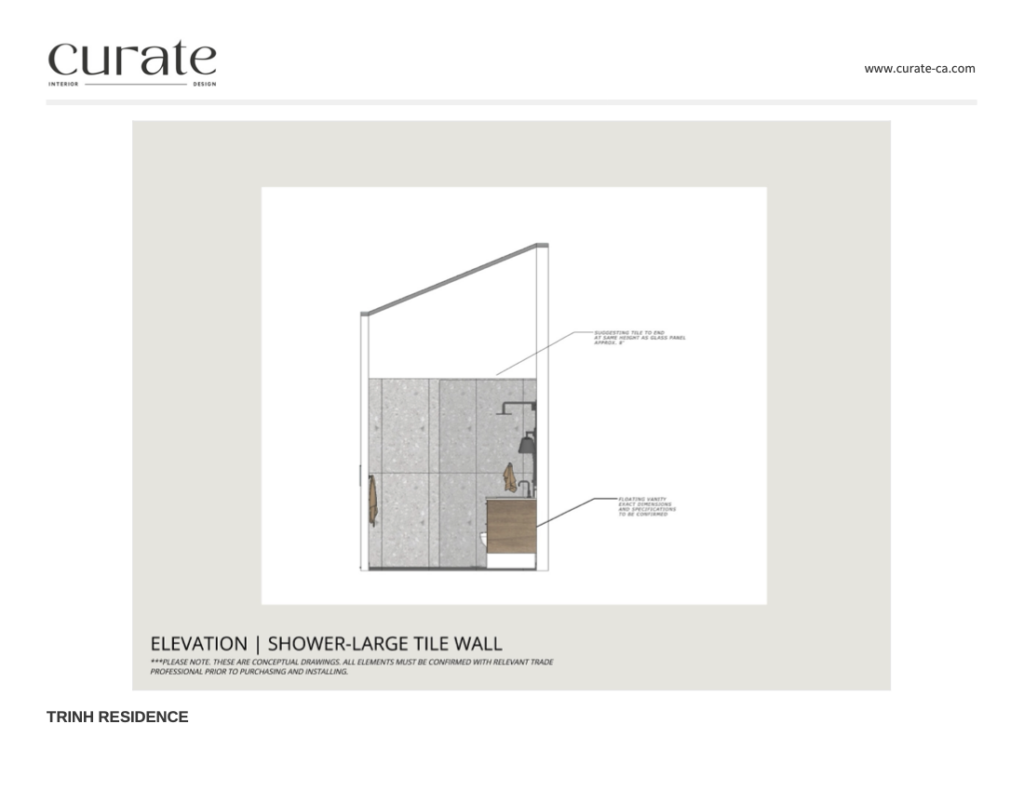
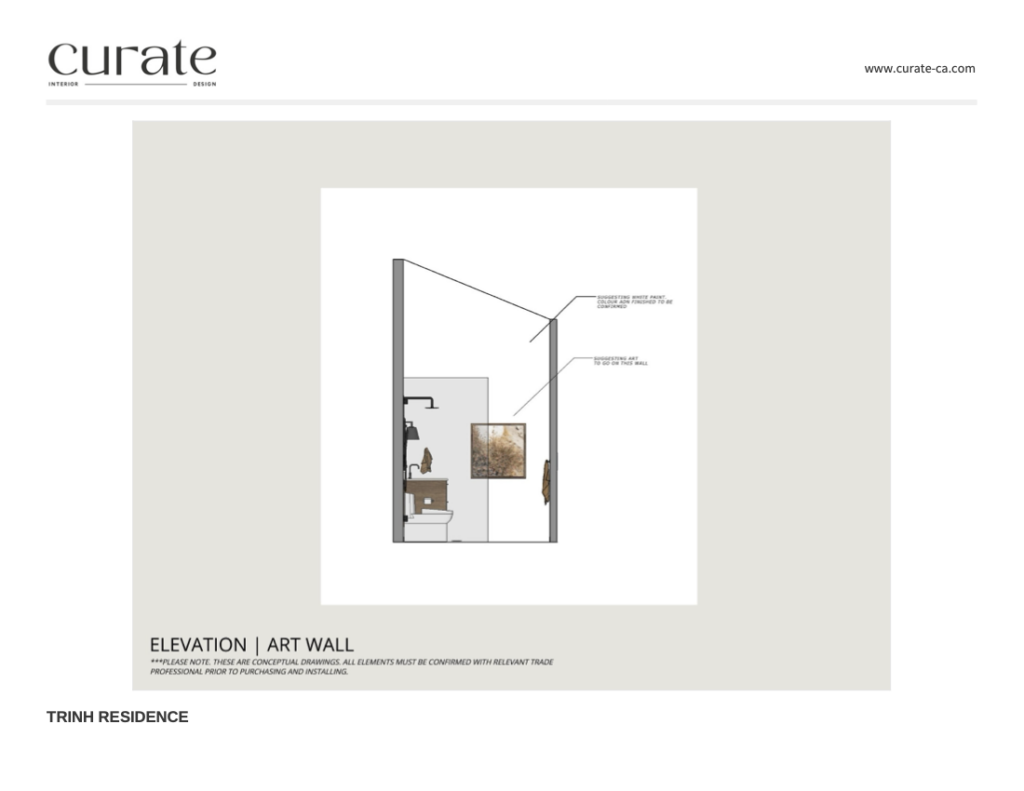
The styles of drawings aren’t always used, it really depends on the type of project and if I feel they are necessary for the client to fully understand the design. With this project they were relevant and the client also received drawings with measurements to assist the contractor in the build. This is another step where you start to see the design come to life prior to the 3D renderings.
Step 5 | 3D Drawings
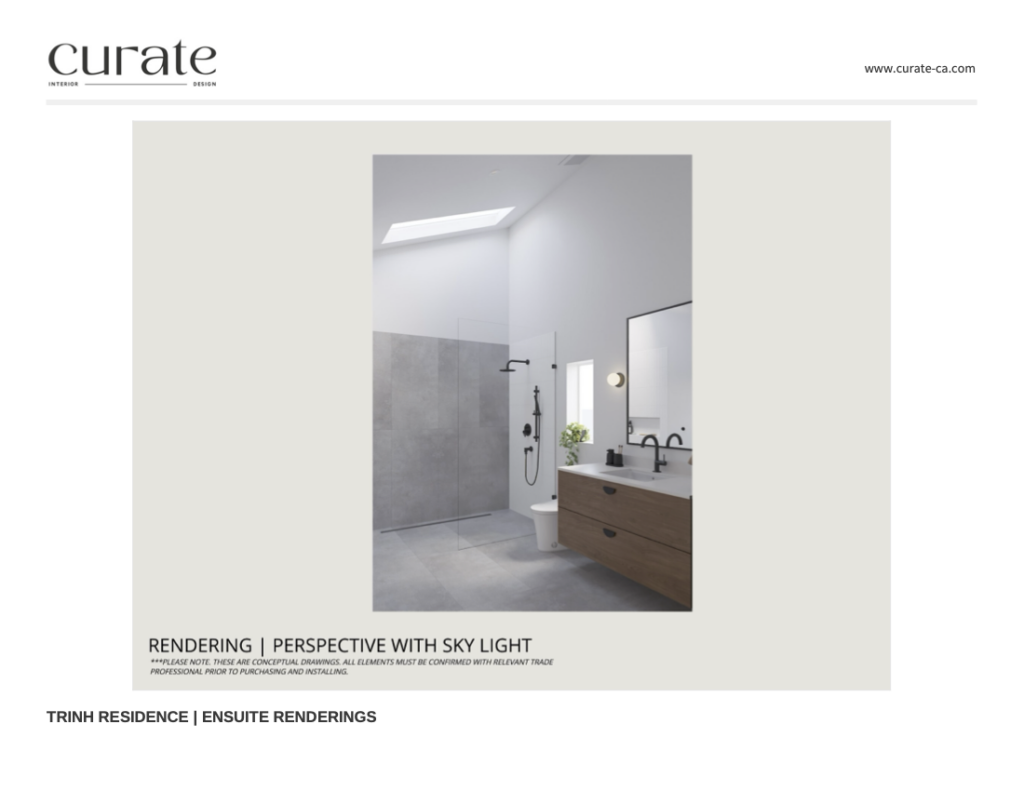
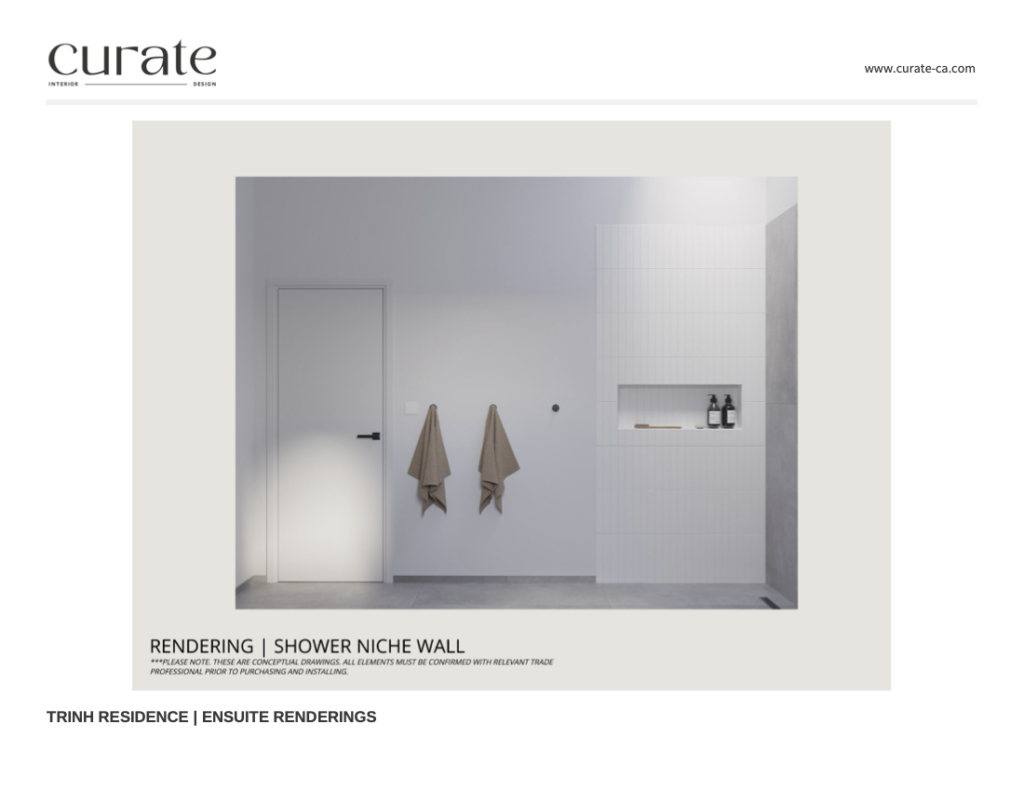
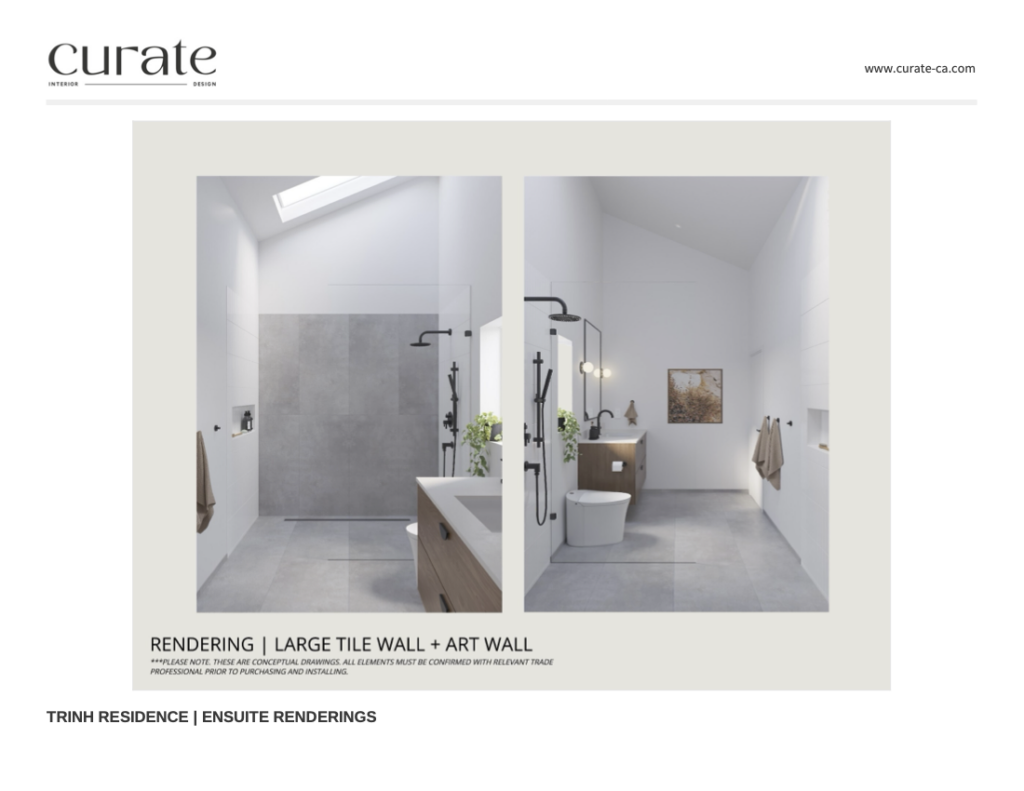
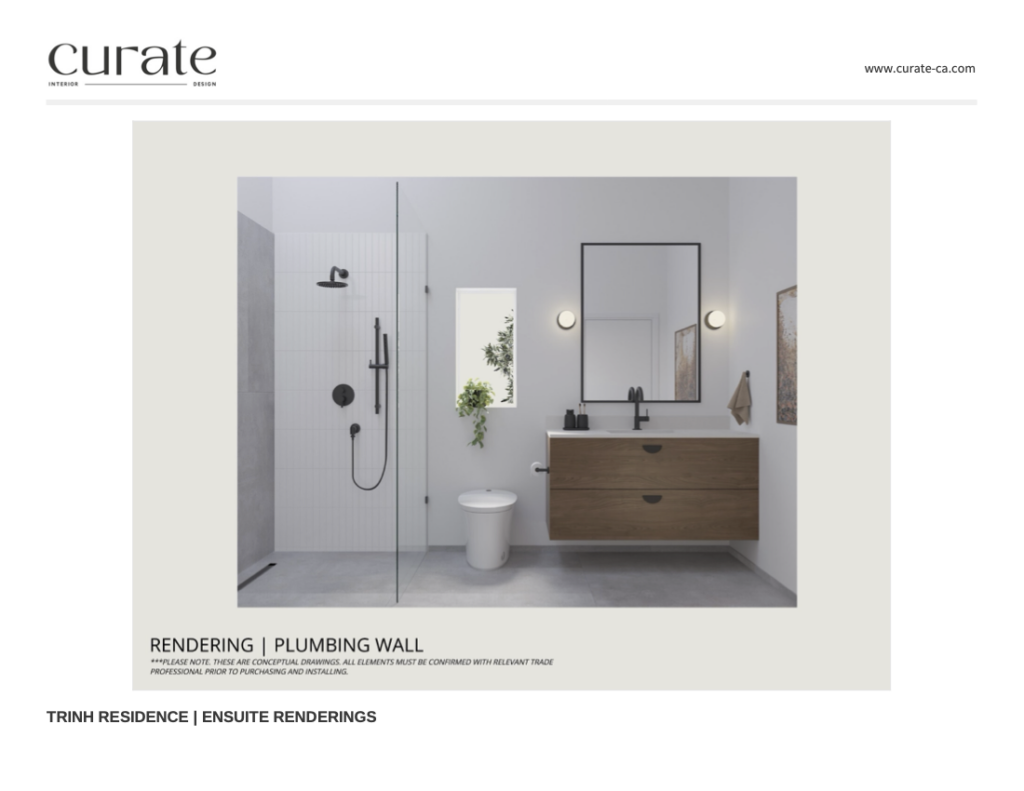
The renderings are my favourite part because they provide you/the client with such a strong vision as to how your space will come together. They really leave no space for any questions! I like to refer to them as a “styling blue print”. Once you have all the items from the Source List, you can then style your space exactly as you see in the renderings (if you want to that is!).
Step 6 | Source List + Shopping Guide
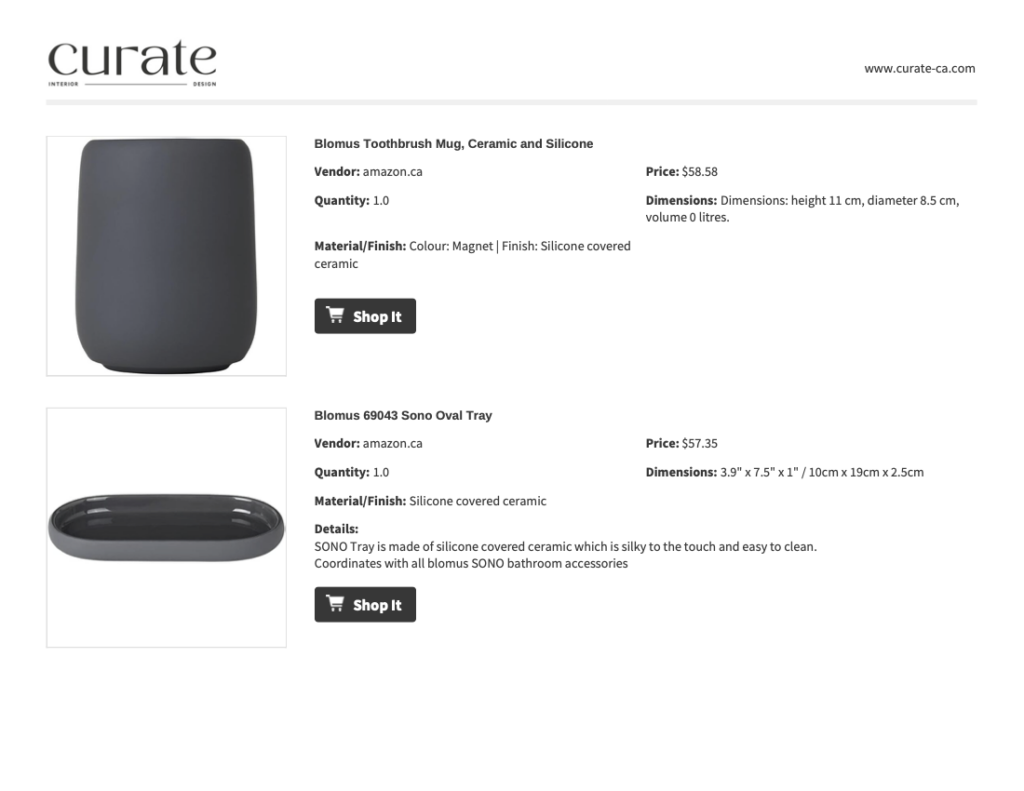
The Source List is another fantastic aspect of the online design process. I’ve recorded a quick video here to show you exactly how it works. This is the list for every single item you need in the design.
Step 7 | Follow Up + Implementation (This is where you will see the eerie real life after photos!)
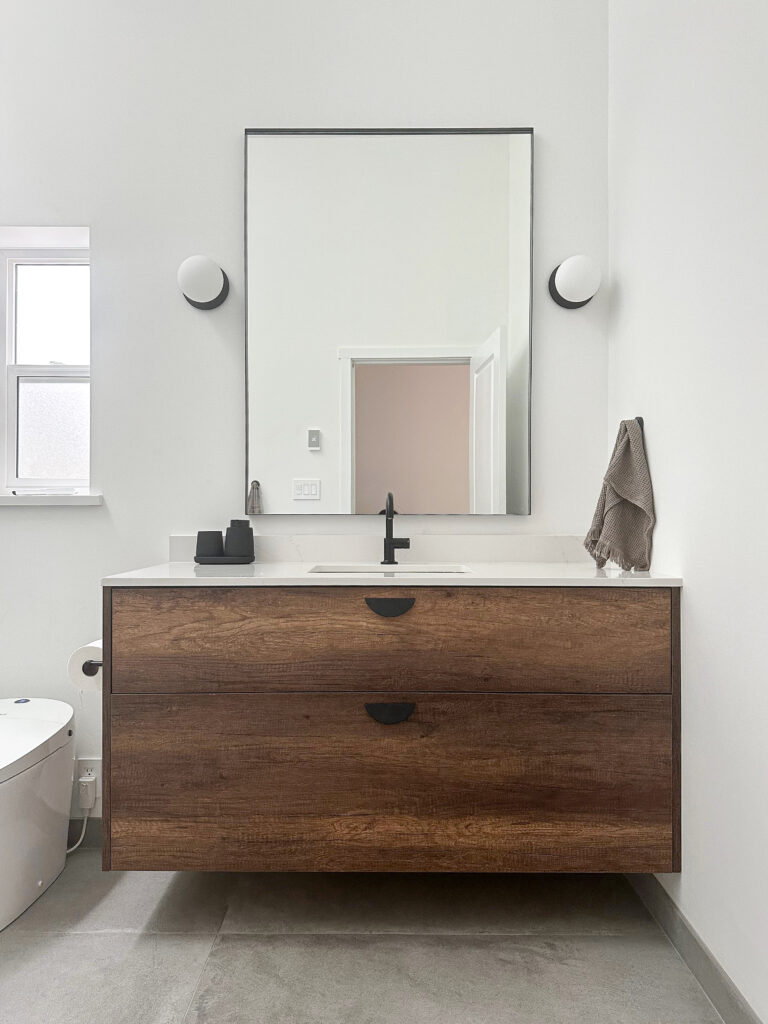
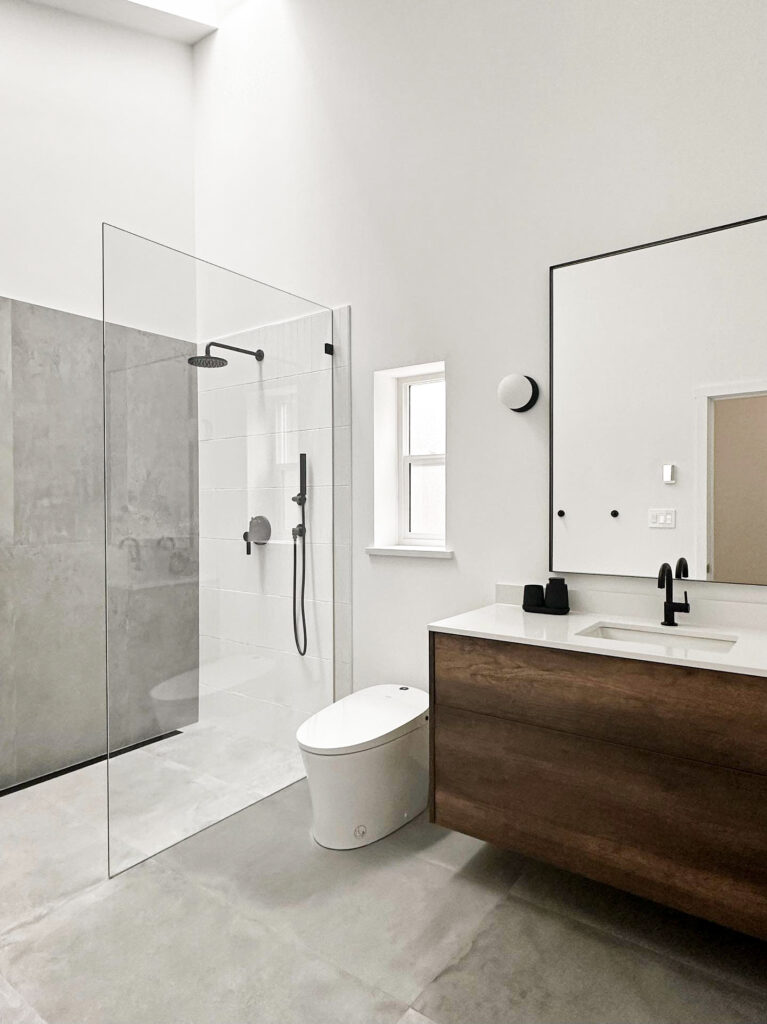
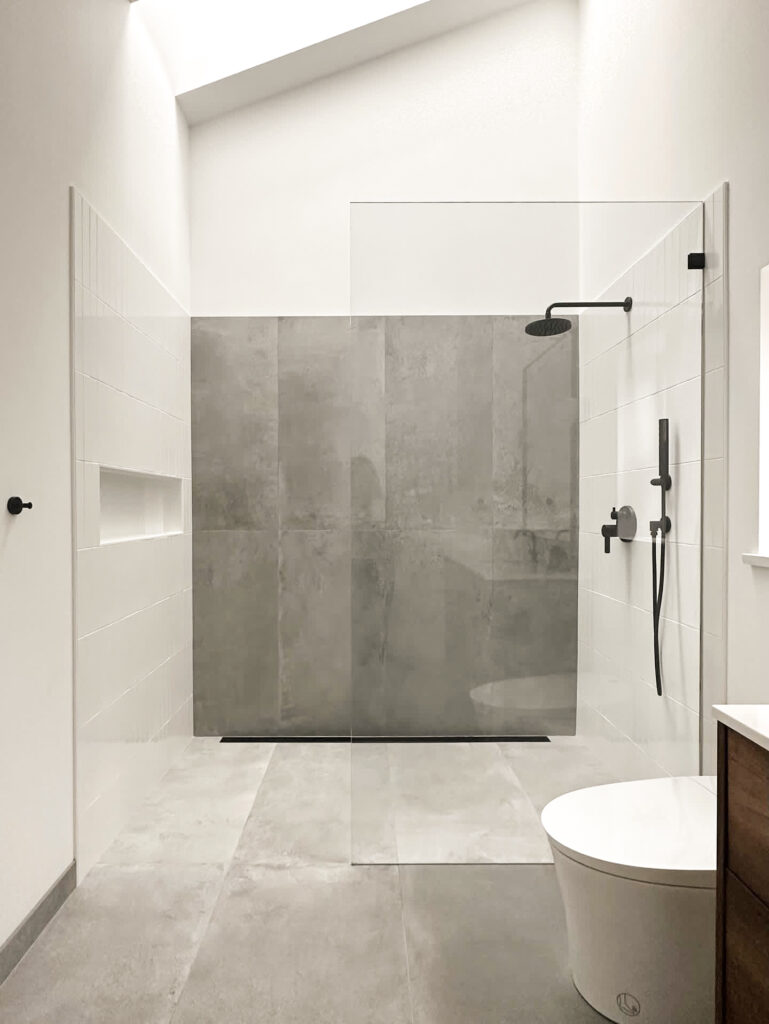
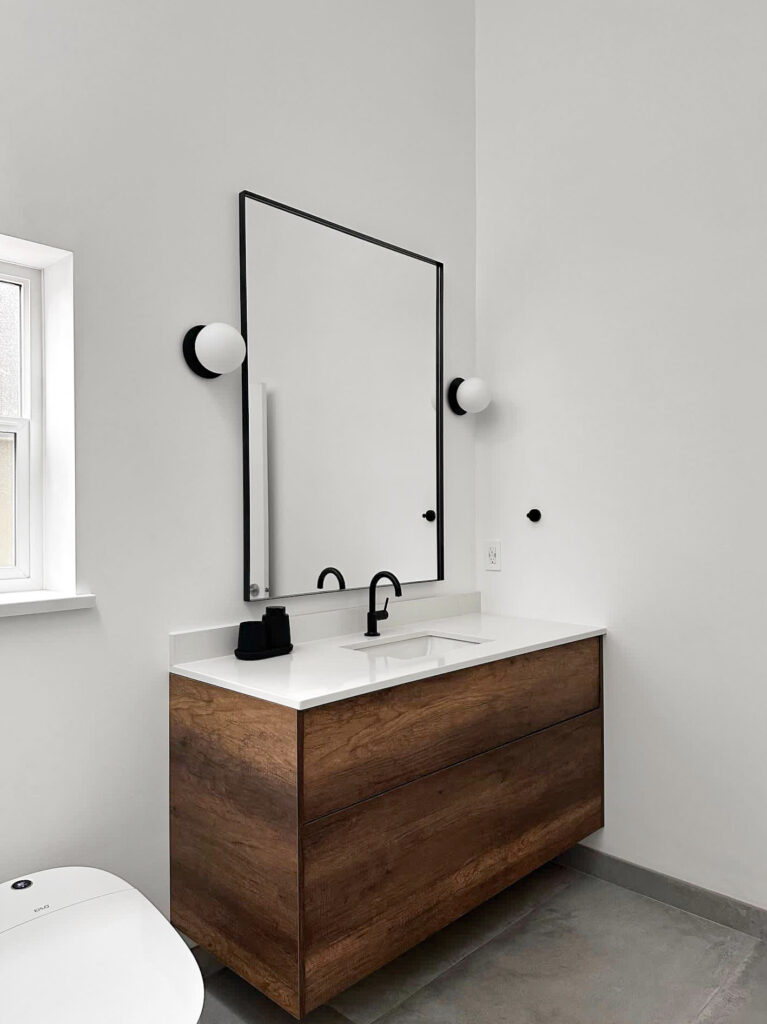
I could not have asked for a better outcome! The client loved the design and followed the plans to a “t”. A few finishing touches are still needed but things came together so beautifully! The other part of the implementation phase that isn’t shown above is that the client has access to me for a full 30 days after the project has wrapped in the case they have questions or uncertainties.
Client Testimonial:
“We found Ryley when we were beginning the build on an addition to our home to add a Master Bedroom/Ensuite and home office. Overwhelmed with work, life and the construction, there was no energy left to spend towards the interior design and we knew we desperately needed help. We had small bits of ideas for our new space but needed someone to help us bring it all together.
We started with an envision package for the master and ensuite and loved the process so much that we decided to add a package for the home office. We know what we like but have always struggled with bringing it to life. We wanted a peaceful retreat vibe for the master but something more fun for the home office to our own creative based business. Ryley was able to perfectly translate our needs and wants into a stunning coherent space that feels like a dream to be in everyday.
If anyone has any doubts about the cost or the online design aspect, I am here to squash those thoughts! Ryley is a true professional and is incredible at what she does. The time and care that she puts into creating each space with you is absolutely worth it. Whether you have a solid vision for your space or have no idea what you want, she can help you. Doing it all online didn’t affect the process at all and our spaces ended up looking eerily identical to the 3d renderings that were provided with the finalized design plans. The whole experience which spanned months was the most enjoyable part of our build and we hope to use Ryley’s services again one day to transform the rest of the house.”
–Elise
To conclude, if you ever have any questions about my process and are curious if it is the right fit for you, please reach out – I would love to chat!
Book A Discovery Call Here 🙂
Ryley
July 15, 2024
My Online Design Process
